Help, about, policy and other pages for arXiv.
This is where to make edits to the about, help, labs, new and other pages at info.arxiv.org. These are written in markdown and turned into HTML pages with mkdocs-material.
To make a quick edit, use this is a 4 step process:
-
Make your edit and commit to a new branch.
-
Make a PR from your branch to develop, get that reviewed.
-
Merge the PR to develop.
-
Merge changes on develop to master.
-
To edit a page first go to the info.arxiv.org page you want to edit. Ex https://info.arxiv.org/help/gzip.html
-
Click on the pencil icon to edit the page. That will take you to the corresponding page in github.
-
Click on the pencil icon to edit the page. That will take you to the corresponding page in github.

- On the page you want to edit in github, click the pencil to edit the page contents right in github.

- After you have made changes, click preview to see how it will look when completed. Please note: Github uses "Github flavored markdown" which is different from the markdown we use to create our documentation. There may be small variations in how the markdown appears due to these differences.

- Review your work in preview mode. To return to editing, click on "edit" in the header.

- Once you are happy with your changes you can save by clicking on the blue "Commit changes" button in the upper right hand corner. Commit is the term github and git use for saving.

-
Add a brief note in the "Commit message" area summarizing your edit. You may add longer note in the
Extended descriptionarea if you have more to say about your changes. -
Make sure you have your email associated with your commits.
-
Note that a "new branch for this request and start a pull request" will be selected.
-
Name your branch after your JIRA ticket (if applicable) to link it. Ex
arxivce-1503-update-arxiv-docs-readme.

- On the page you want to edit in github, click the pencil to edit the page contents right in github.
- After you have made changes, click preview to see how it will look when completed. Please note: Github uses "Github flavored markdown" which is different from the markdown we use to create our documentation. There may be small variations in how the markdown appears due to these differences.
- Review your work in preview mode. To return to editing, click on "edit" in the header.
- Once you are happy with your changes you can save by clicking on the blue "Commit changes" button in the upper right hand corner. Commit is the term github and git use for saving.
-
Add a brief note in the "Commit message" area summarizing your edit. You may add longer note in the
Extended descriptionarea if you have more to say about your changes. -
Make sure you have your email associated with your commits.
-
Note that a "new branch for this request and start a pull request" will be selected.
-
Name your branch after your JIRA ticket (if applicable) to link it. Ex
arxivce-1503-update-arxiv-docs-readme.
If you have more changes to make at this time you may make and commit them all to the branch you created. The additional changes you commit will be grouped together when you make your pull request in the next step. If you have more changes to make at this time you may make and commit them all to the branch you created. The additional changes you commit will be grouped together when you make your pull request in the next step.
Once you have completed all of your changes, you need to have your changes reviewed. This is done by "creating a PR." PR stands for pull request.
-
To make a PR click the "Pull requests" link in the header of the github page.
-
On the right hand side, click the blue button that says "New pull request"

- Compare your changes by clicking on the "compare:develop" dropdown and type in your branch name and then select your branch.
- This will compare your branch to the
developbranch.

- Click on the "Files Changed" tab to view a comparison of the
developbranch you are planning to merge into master.

- Click "Create pull request"
- Add a title for your pull request and a description if the title is not self explanatory.
- To the right, click on the gear icon to the right of "Reviewers".
- A dropdown will appear and request people to review your PR.
- If you are unsure who to ask to review your changes, check with your manager.

- After selecting reviewers, click the blue "Create pull request" button.

- Reviewers will receive an email from Github prompting them to review your PR.
- Once your PR has been reviewed and approved you can merge your PR to
develop. - Open your PR and scroll down and click on "Merge pull request".

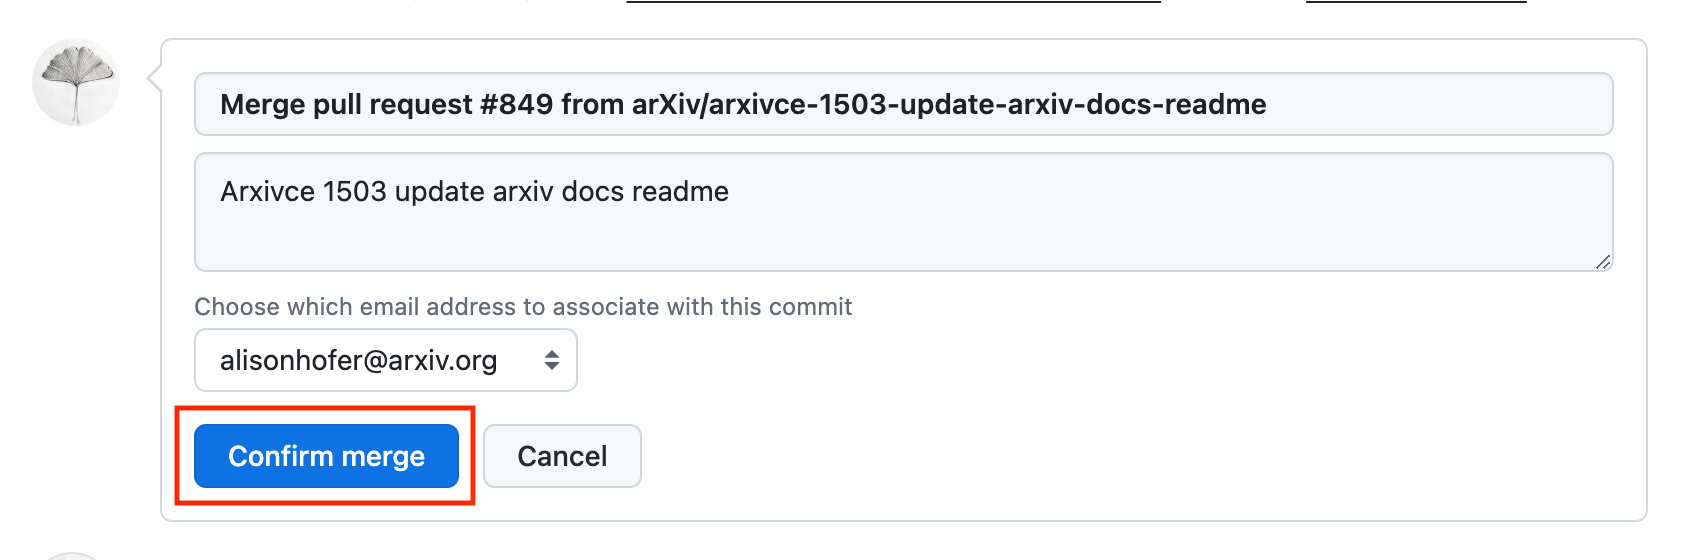
-
You will be prompted to confirm you decision, click "Confirm merge".
-
Please note: The above step will only put your changes on
developand they will not be viewable on the live site: info.arxiv.org. At this point you have only saved the edit(s) in github. -
You can review your changes on the
developsite at info.dev.arxiv.org.

-
Please note: Once you have merged your changes to
develop, it is important to deploy them as soon as possible. Lingering commits on on thedevelopbranch can cause unintentional problems when they are deployed with other code. If you notice commits other than your own in the PR you make, please be sure to check in with the owners of those commits to ensure they are ready to go live. -
Now that your PR has been merged to
develop, you need to deploy these changes tomaster. -
To make a new PR click the "Pull requests" link in the header of the github page.
-
On the right hand side, click the blue button that says "New pull request"
- Compare your changes by clicking on the "compare:develop" dropdown and type in "master" and then select it.
- This will compare your branch to the
developbranch.

- Click on the "Files Changed" tab to view a comparison of the
developbranch you are planning to merge intomaster.

-
Click "Create pull request"
-
Add a title for your pull request and a description if the title is not self explanatory.
-
To the right, click on the gear icon to the right of "Reviewers"
-
A dropdown will appear and you can request people to review your PR.
-
After selecting reviewers, click the blue "Create pull request" button.
-
Ping your reviewers in slack with a link to your PR and ask them to review it.
-
Once your PR has been reviewed and approved you can merge your PR to
master. -
Open your PR and scroll down and click on "Merge pull request".
-
You will be prompted to confirm you decision, click "Confirm merge".
-
You will see your changes on production about 15 minutes after you have confirmed your merge.
See AUTHORING.md
Instead of using github to edit you can check all the files for arxiv-docs to your laptop to edit and preview.
git clone git@github.com:arXiv/arxiv-docs.git
cd arxiv-docs
python --version
# 3.8.12
python -m venv docs-venv
source docs-venv/bin/activate
pip install -r requirements.txt
mkdocs serve
google-chrome https://localhost:8000/index.html
Then you will have the site served locally with hot reloading on edits. In your browser, go to http://localhost:8000/index.html
Commits or merges to arxiv-docs master branch will deploy the site.
The cloud build YAML files combined with CloudBuild triggers in
arxiv-production comprise the deployment pipeline for arxiv-docs.
PRs that will merge to the branch develop on the github repo
arxiv-docs will deploy previews at
https://storage.googleapis.com/arxiv-docs-prs/YOUR_BRANCH_NAME/about/index.html
Note that the home page specifically does not exist, but any other page can be accessed with its URL path. This preview can been seen by the public, everything in the github arxiv-docs repo can also be seen by the public.
Direct commits to the develop branch will not generate a preview.
See https://github.com/arXiv/arxiv-docs/releases for branches prior to 2023 when content was shifted to the source/ directory.